· create two polygons that match the starting and ending diameters of the column
· use the “Unwrap Selected Object” on each of those octagon vectors
· use the two-rail sweep tool to generate the 3D model
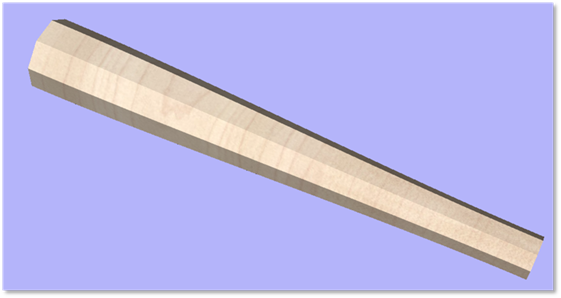
This tutorial describes the steps to create a tapered octagon using Vectric Aspire 9.5. This technique will work with any polygon. The basic steps are:
· create two polygons that match the starting and ending diameters of the column
· use the “Unwrap Selected Object” on each of those octagon vectors
· use the two-rail sweep tool to generate the 3D model
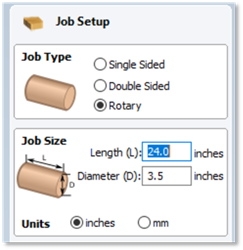
In this example I’ll create a new rotary project In Aspire that is 24” long and 3.5“ in diameter. The final column will start at 3.5” diameter and end at 2” in diameter.
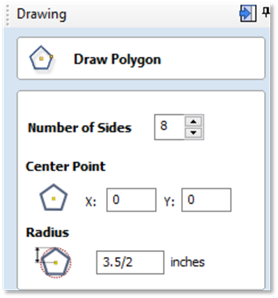
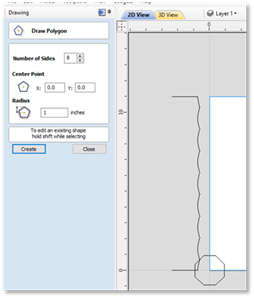
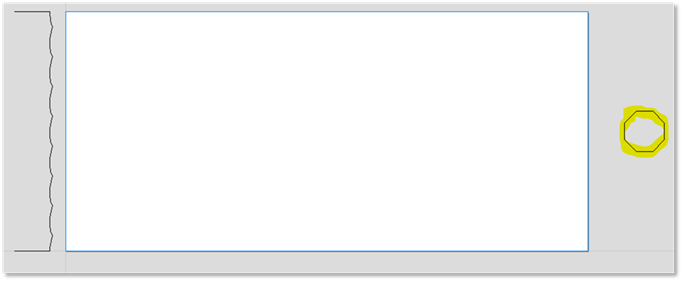
This technique will work with any polygon. Open the Draw Polygon tool (highlighted in the image)
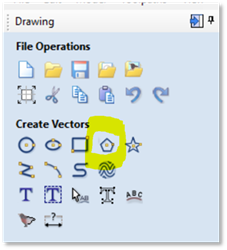
Draw an octagon that has the same radius as your rotary material. I find it easiest to type in the diameter divided by 2.
When I enter 3.5/2 and press the = key it automatically calculates the radius for me.
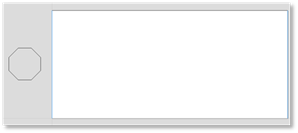
It doesn’t matter where the polygon is drawn. I typically move it off the work area but near the portion that I want to be the widest part of the column.
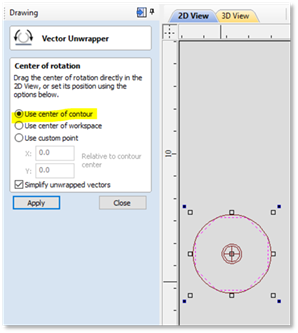
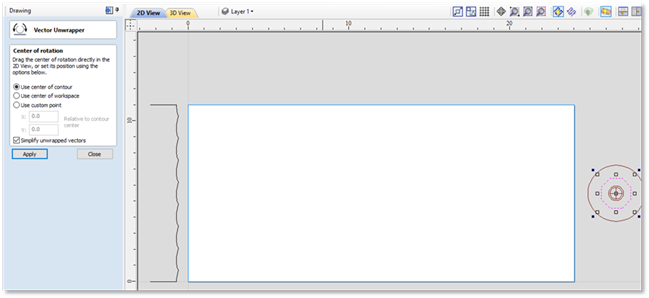
Use the Unwraps selected object tool on the Drawing tab under the Transform Objects section.

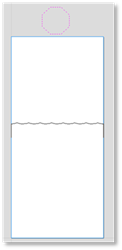
Select the octagon now if it isn’t already selected. The tool automatically draws an outer circle and a target showing the center of rotation that will be used. For this example, select the radio button next to Use center of contour. Click Apply, and then click Close.
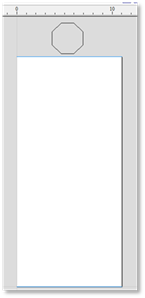
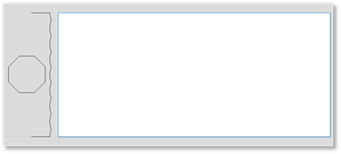
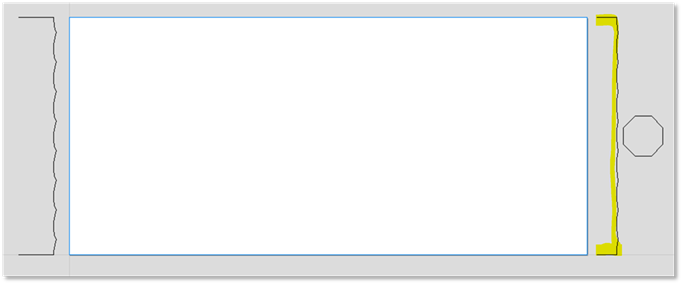
A wavy line is created in the middle of the project. I prefer to move this line near the end that will be the thickest part of the completed column.
Notice the blue lines have been added to the long dimension of your project. These lines are created by the Vector Unwrapper and are placed on a layer called Unwrapped Vector Drive Rails. They will be used later when we create the two rail sweep.

At this point, if you wish, you can delete the octagon, or move it to another layer and hide it.
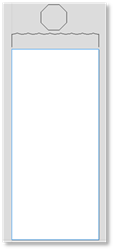
Draw the smaller octagon. In the example it will have a radius of 1 inch.
I prefer to move this octagon to the opposite end of the drawing.
Select the smaller octagon if it isn’t already selected. Again, for this example select the radio button next to Use center of contour. Click Apply, and then click Close.
As before, move the wavy line near the end of the material.
You can optionally delete or hide the smaller octagon.
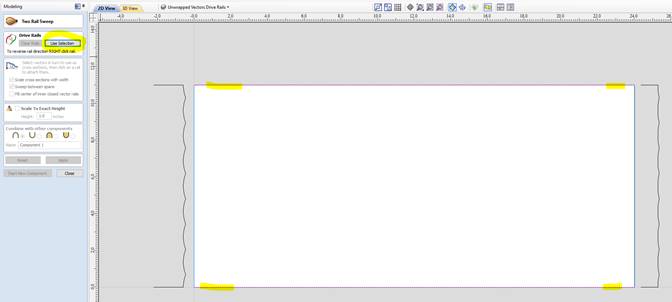
Select the blue lines on layer Unwrapped Vector Drive Rails. On the Modeling click on the Two Rail Sweep tool
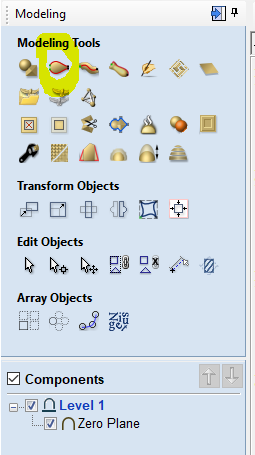
Click on the Use Selection button.
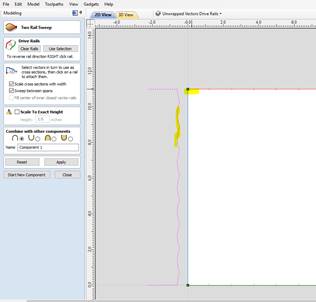
Click on the larger unwrapped polygon vector, and then click on one end of the rail. The cursor shows a check mark when you are in an area of the rail where you can click.
Click on the smaller unwrapped polygon vector and click on the other end of the rail. Again, the cursor shows a check mark when you are in an area of the rail where you can click.
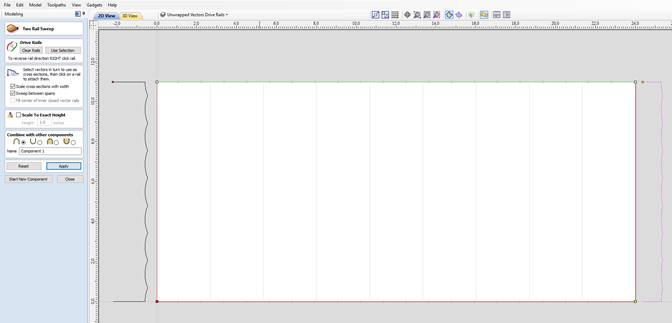
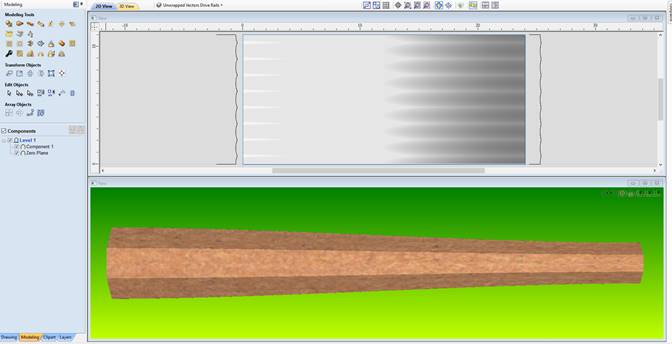
Now click on Apply. If you show both the 2D and the 3D windows you should see:
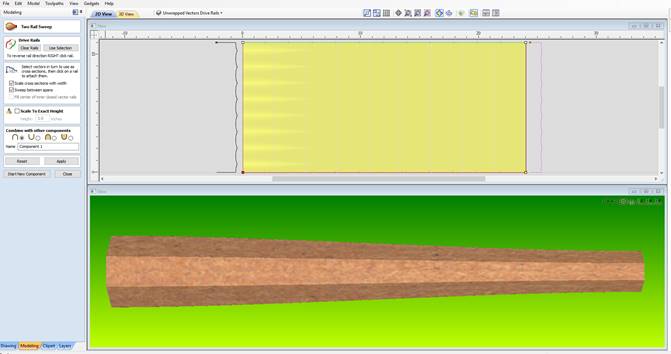
Click on Close to complete the operation and go back to the Modeling tab.